
Uploading your data.
Uploading your data is relatively easy, and only takes a few steps.
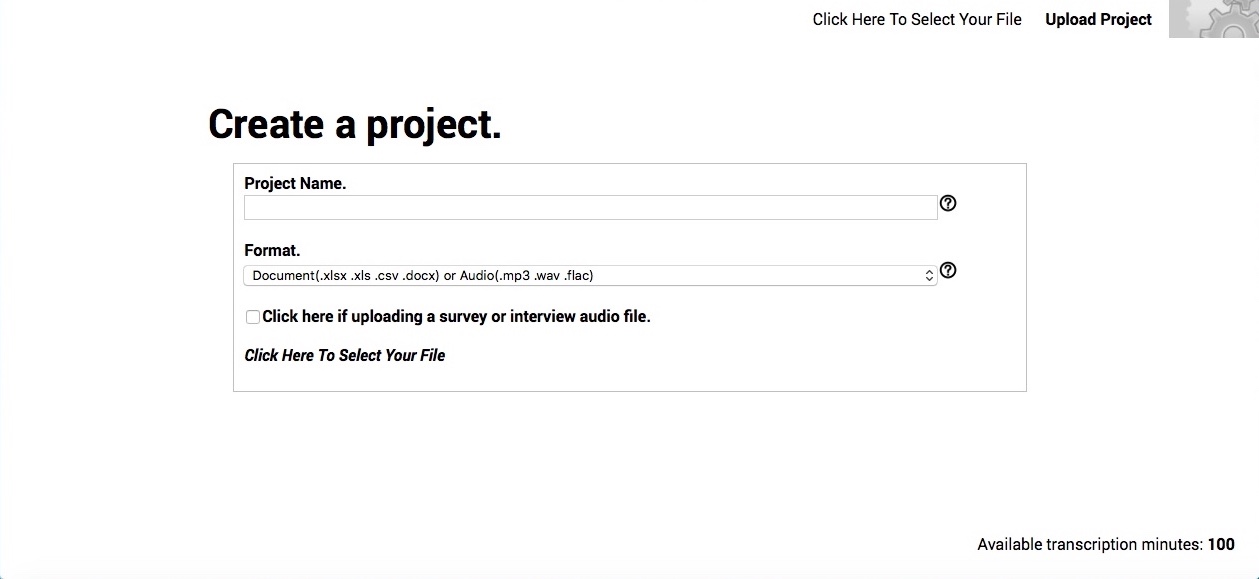
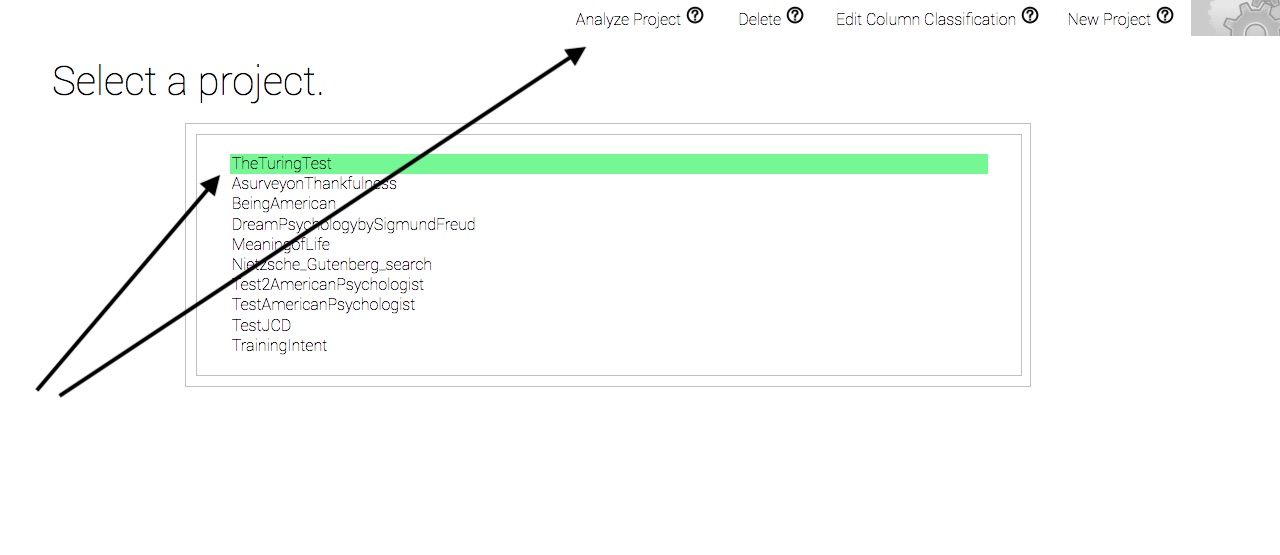
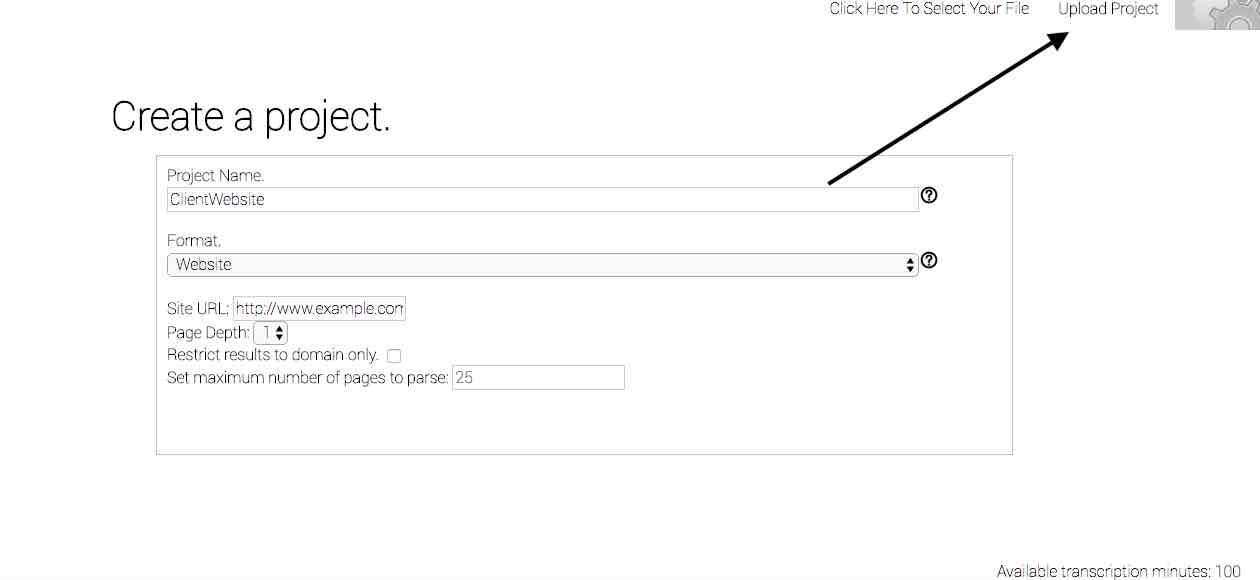
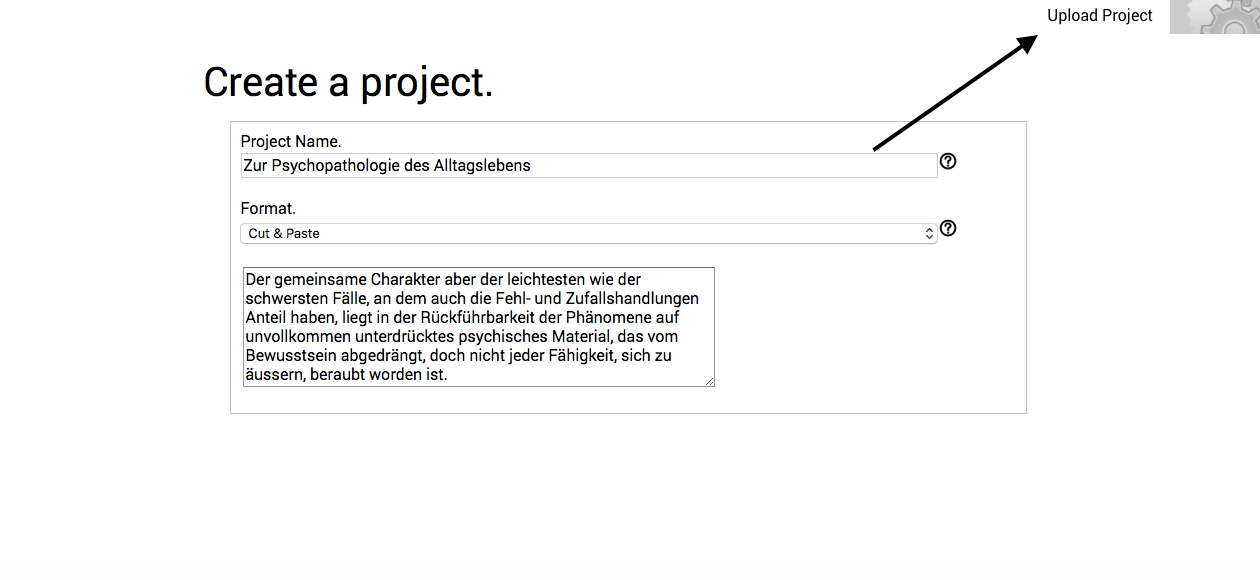
If it is your first time logging into Raven’s Eye, if you otherwise have no projects uploaded, or if you select Create a project from the dropdown menu bar behind the moving cogs, you will be taken to the Create a project page. This is the page on which you can upload data for analysis by Raven’s Eye.

Accepted formats.
As we discuss in our practical information on preparing your data, you can upload natural language data in one or more of four formats:
- previously saved documents containing natural language text in one of 65 languages, such as word processing files (i.e., .docx), or spreadsheet files (e.g., .csv, .xls, or .xlsx);
- directed scanning of textual information from specific webpages, or URLs; or
- pasting text directly from your computer's clipboard.
Previously saved documents.
Before you upload your document, please first ensure that your current language corpus matches the language written in the file. This can be changed on the Settings page. For instructions about how to do so, see the Logging in webpage of these online Practicals. If the corpus language is not first changed to match that written in your file, the analysis will not likely be useable. The default corpus setting is English.
To upload natural language text previously saved in word processing or spreadsheet formats:
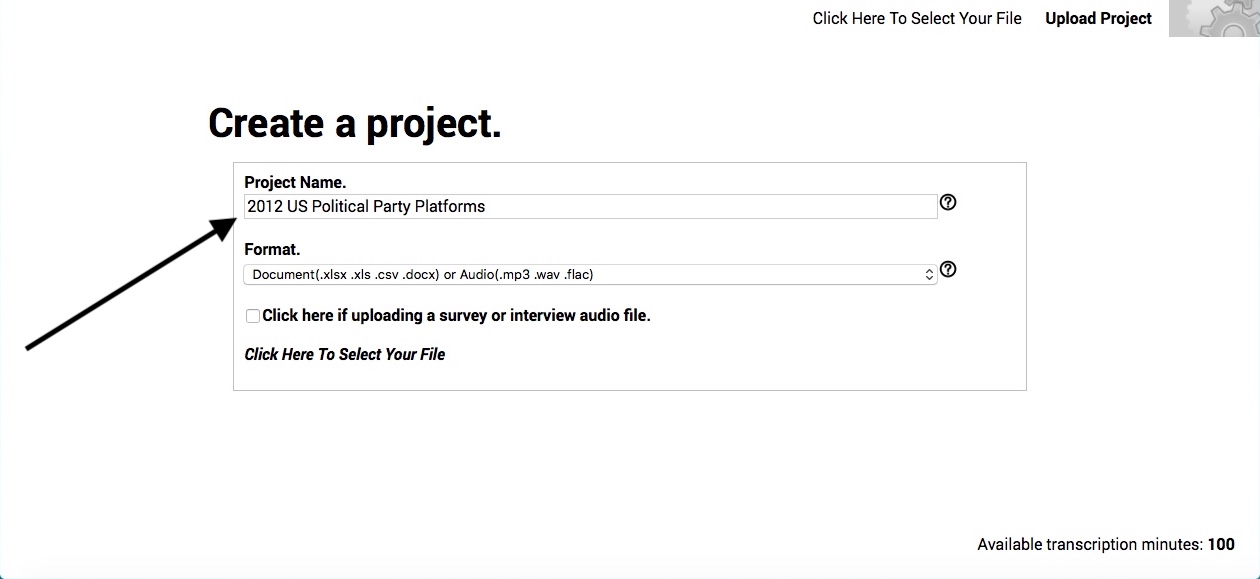
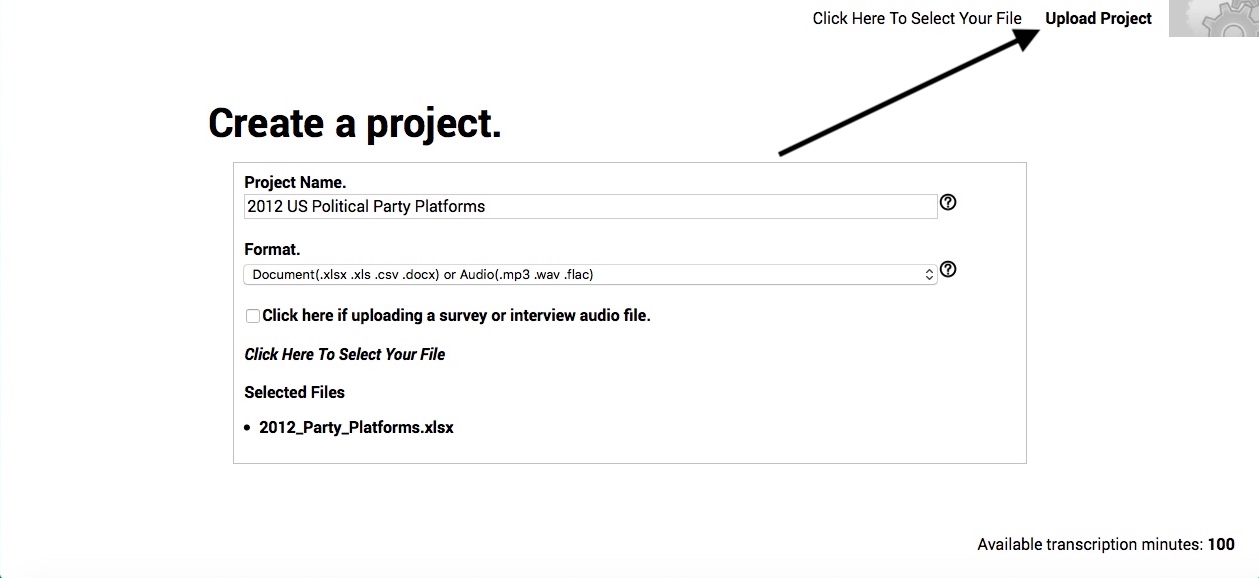
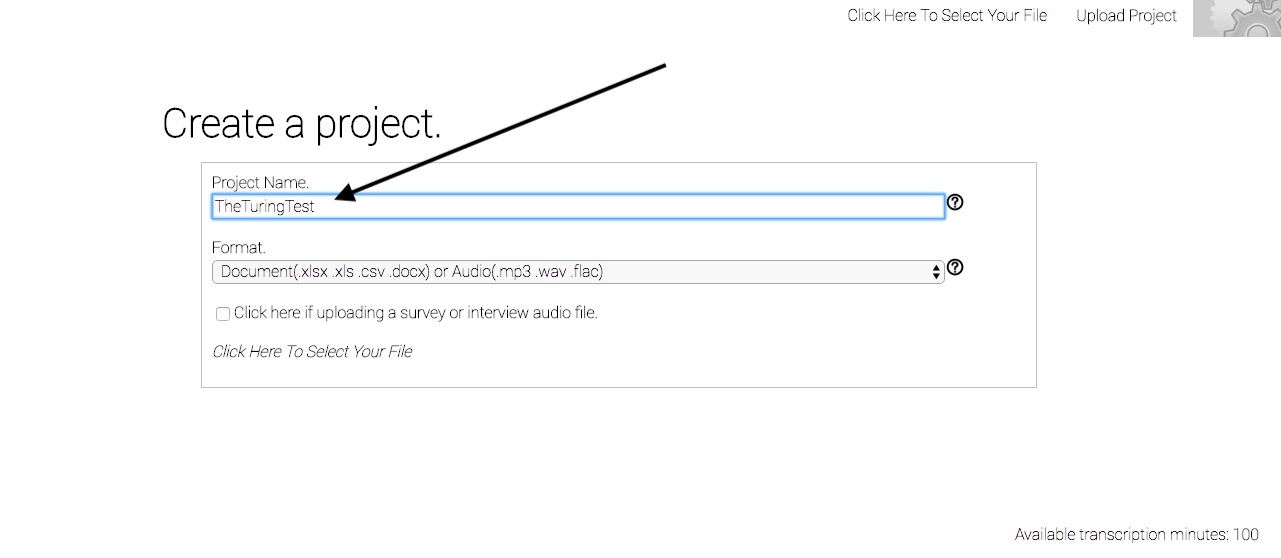
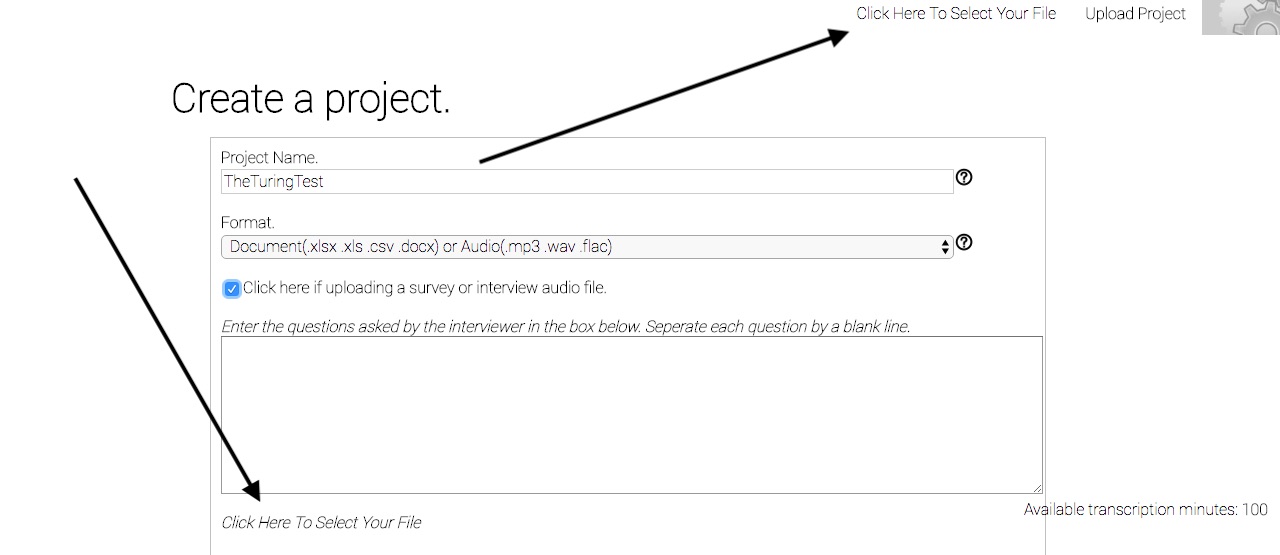
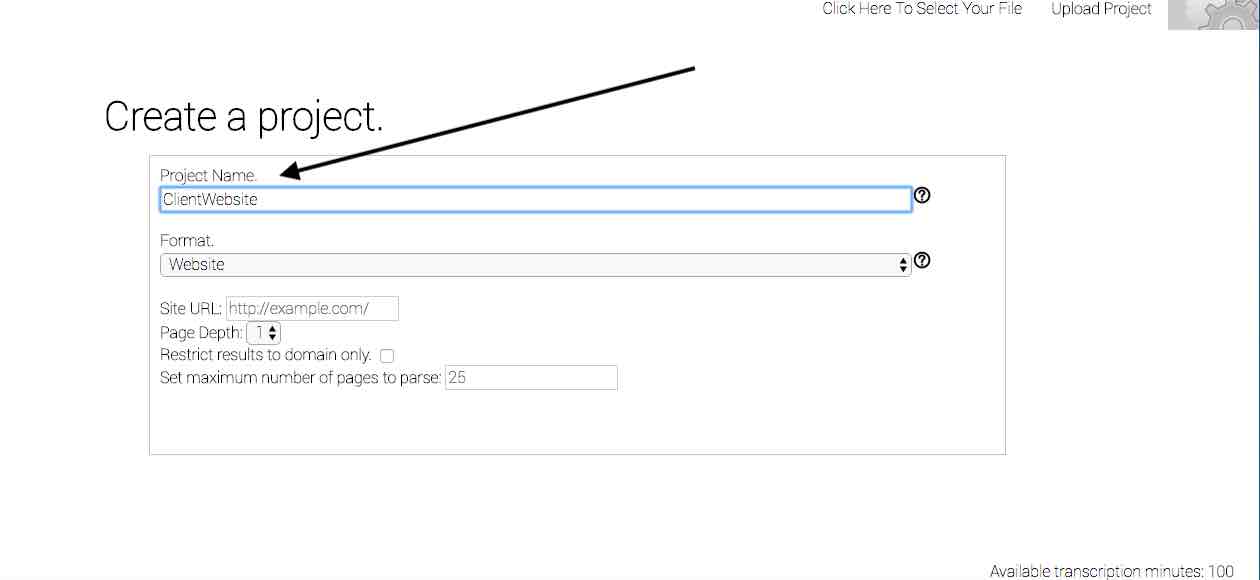
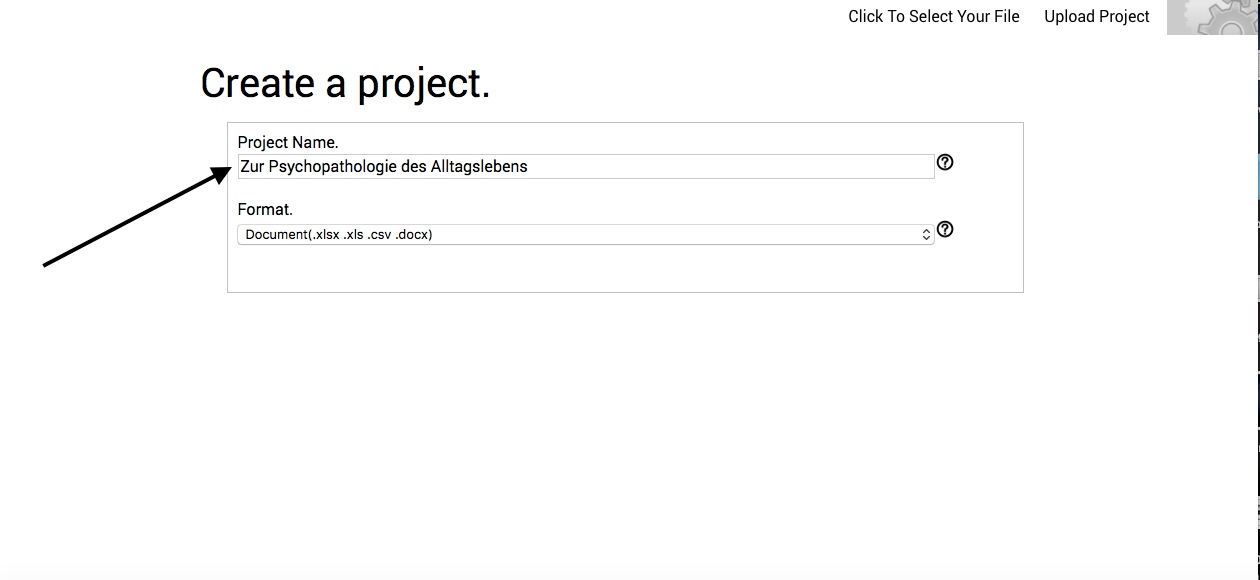
- First, name the project. Place your cursor in the Project Name text box and type a project name that will assist you in keeping track of your projects.

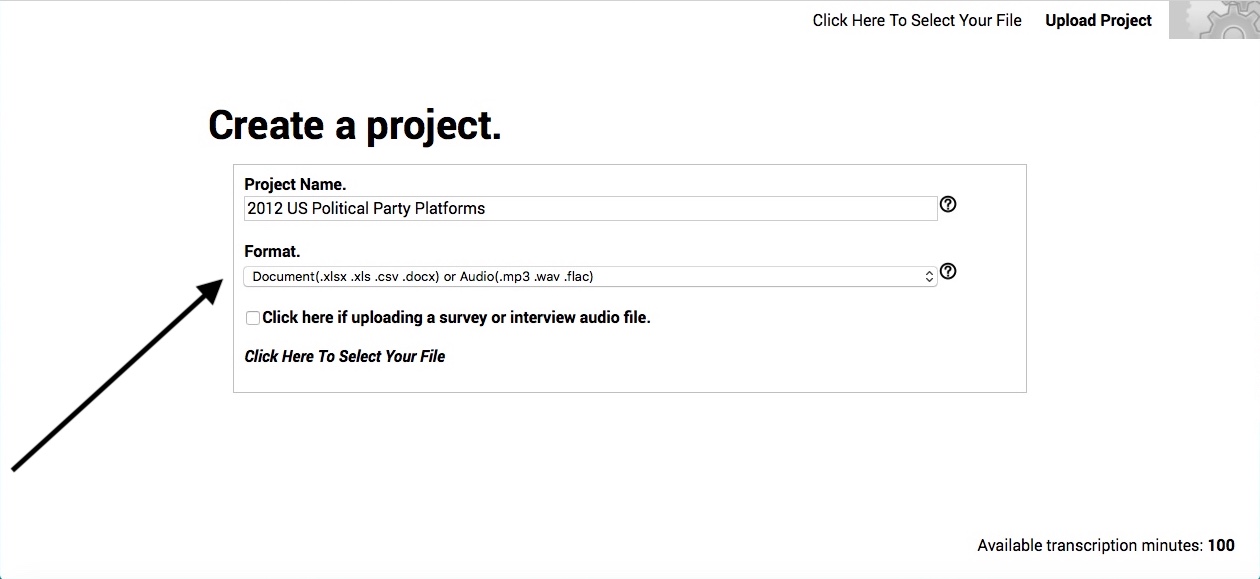
- Second, select the format of your data from the Format dropdown list. Choosing Document will allow you to upload both word-processing and spreadsheet files.

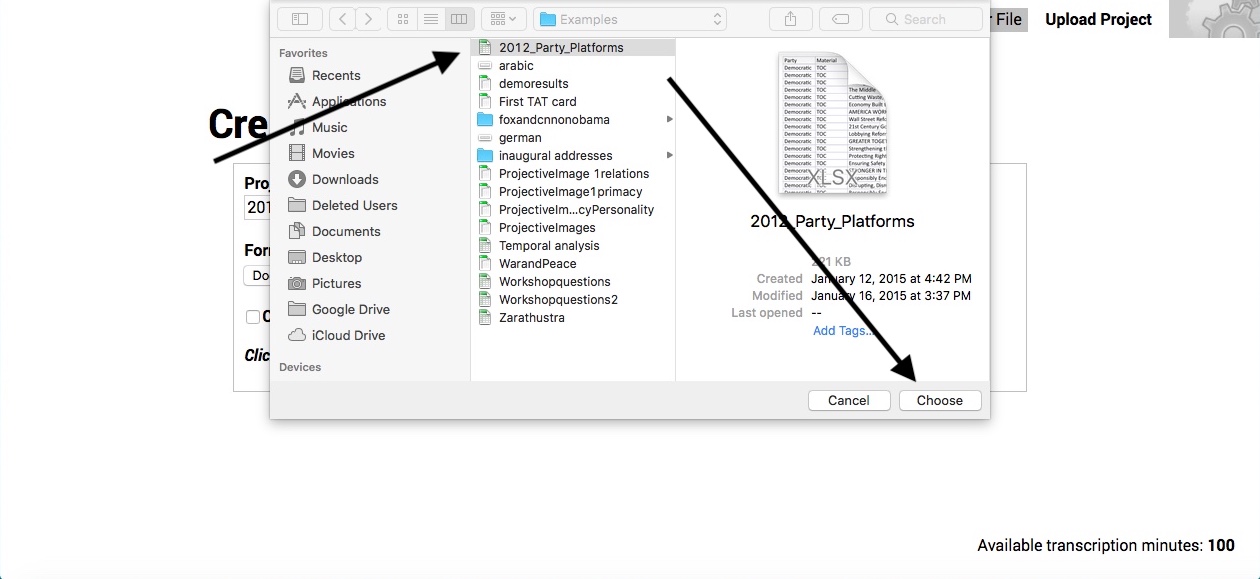
- Third, select Click Here To Select Your File by clicking on that phrase in either the menu bar, or in the main window.
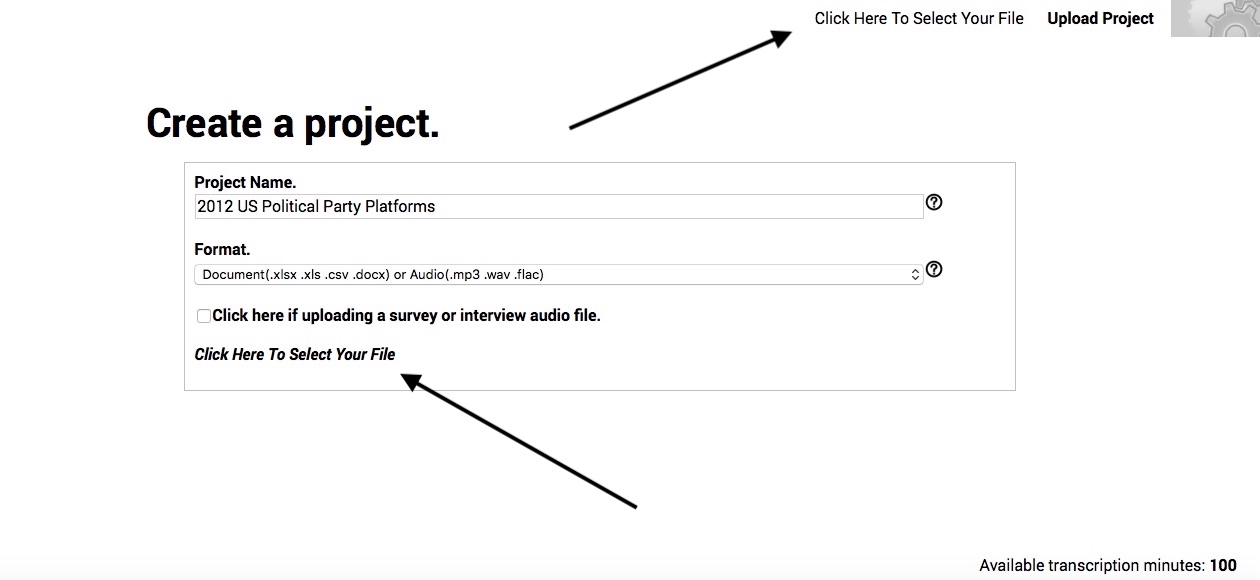

- In the File Upload box that appears, navigate to the folder on your computer containing the file that you would like to upload. Select it by clicking on it, and then click the Open or Choose button in the bottom right-hand corner of the box. Remember, before uploading a word processing file, you will need to prepare its contents and save or export it in .docx format. Similarly, before uploading a spreadsheet file, you will need to prepare its contents and save or export it in .csv, .xls, or .xlsx formats.

- Once you have selected the file you want to upload, its name and file extension (e.g., .xls) will appear beneath the Format dropdown menu. Select the phrase Upload Project in the menu bar to finish uploading your project to Raven's Eye. If you have uploaded a spreadsheet, you will now be taken to a page on which you can classify your columns. If you have uploaded a word processing document, you will now be taken to your results.

Previously saved audio files.
Automated transcription is not available for free licenses. Please do not attempt to upload audio files in a free subscription. Doing so will result in immediate account termination and permanent ban.
Before you upload your audio file, please first ensure that your current language corpus matches the language spoken in the audio file. This can be changed on the Settings page. For instructions about how to do so, see the Logging in webpage of these online Practicals. If the corpus language is not first changed to match that spoken in your audio file, the transcription will not likely be useable. The default corpus setting is English.
As mentioned in the Preparing your data section, please note that a bundle of free minutes is supplied to each new subscriber. We provide these minutes so that subscribers can test and improve their results via our partner's transcription services, without incurring additional expense. Therefore, we recommend that prior to submitting large or lengthy audio files for transcription, subscribers use their audio editing software to isolate and separately save a 3 - 5 minute selection of their recording. After uploading and transcribing this test file, subscribers can export their results and troubleshoot any difficulties by making adjustments to the recording itself (such as by the means described previously). This newly adjusted audio file can then be uploaded again for further testing, and this process can be repeated until the best transcription is acquired.
To upload and automatically transcribe previously saved audio files consisting of natural language spoken in one of several languages:
- First, name the project. Place your cursor in the Project Name text box and type a project name that will assist you in keeping track of your projects.

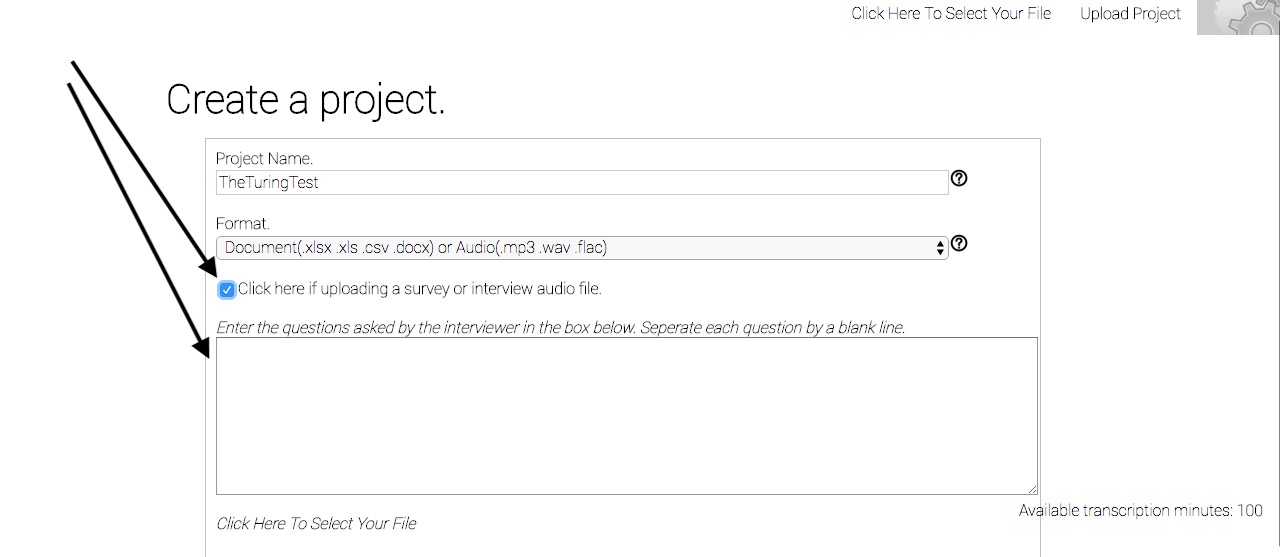
- If your organization has a service level agreement with us and your audio file consists of surveys or interviews in which an interviewer asks questions of an interviewee, you have the option to have the software automatically attempt to differentiate between the interviewer and participant. If you would like to enable this feature, select the designated box. Then, type or paste the survey questions asked of (or verbal cues provided to) the participants in large box reserved for doing so.
NOTE: This feature is highly dependent on standardized interview questions. Inadvertent insertion of filler noises or words—or other variation between the text entered and the actual words used by the interviewer—can affect the ability to produce the transcript, while also dramatically reducing transcription accuracy. If such variation occurs in your interview, it's best not to use this feature. Instead, we recommend that you transcribe the whole file, and then download and remove interviewer questions and comments (using the Find feature of your spreadsheet or word-processing program) while otherwise checking the accuracy of the transcription.

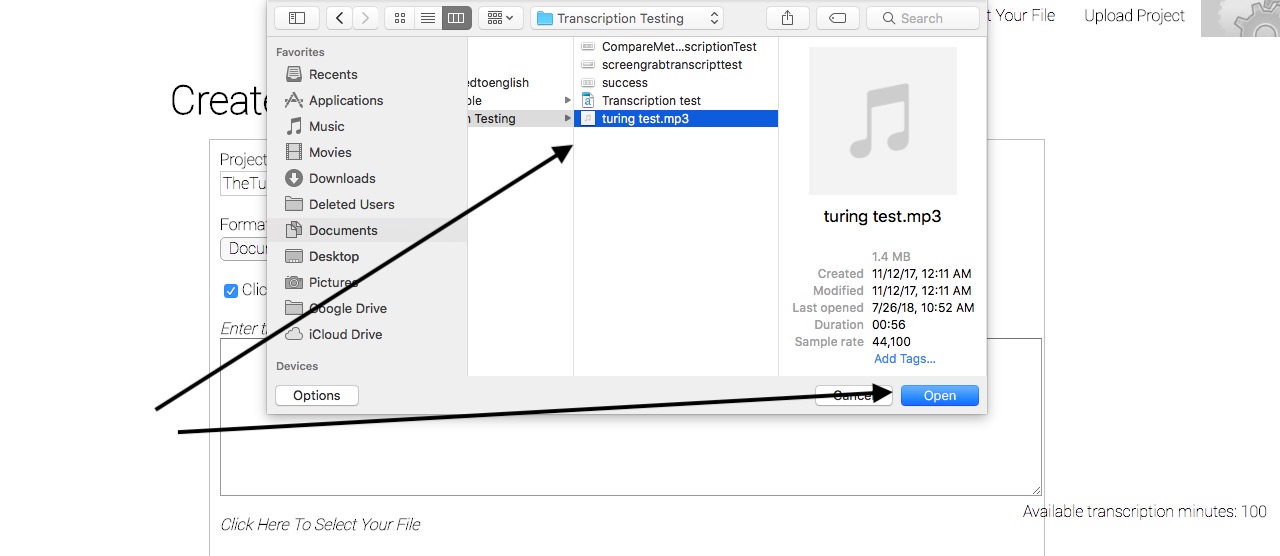
- Second, locate and select your audio file. Do so by clicking on either of the phrases in the lower left-hand or upper-right hand corner of your browser window. In the small window that appears, navigate through your device's file structure to locate the audio file that you want to transcribe. Once located, highlight it by clicking on it, and then select the button labeled variously Open or OK to ready your file for uploading.


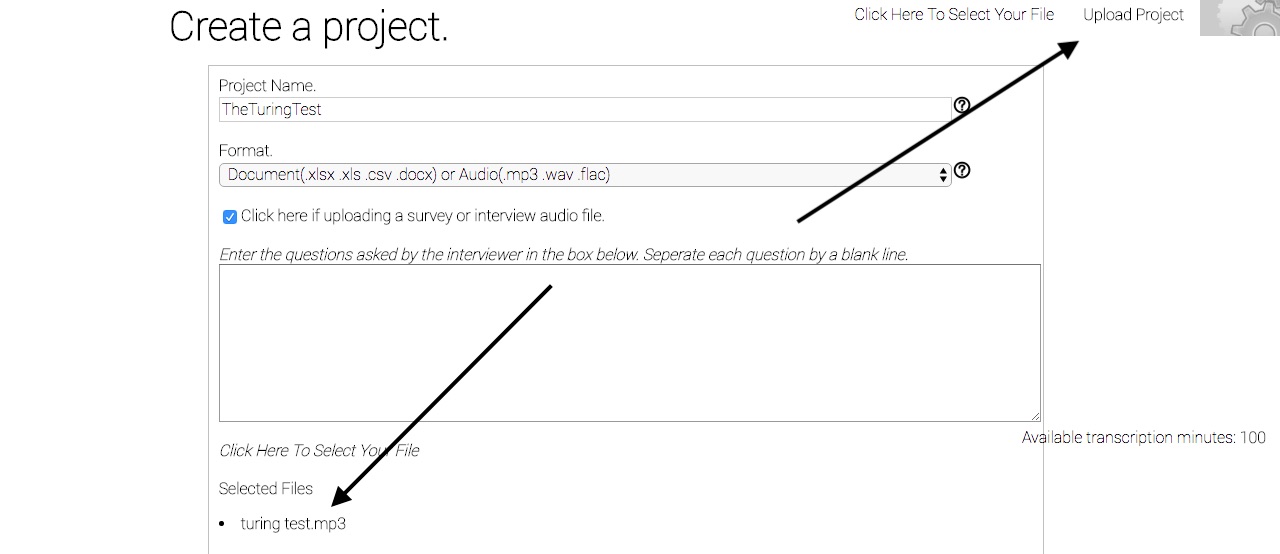
- Fourth, verify that the title of your selected file appears in the lower left-hand corner of your browser window, and select the phrase Upload Project in the main menu. Depending on the size of your file and your Internet connection's upload speed, files of approximately one hour in duration may take up to 1 - 2 minutes to load. During this time the page may appear to pause. Please refrain from clicking away from the page during this time, or clicking on other areas of the page. Instead, please let the system complete its processes. The page will redirect in a short period of time.

- Fifth, verify that your transcription is in process, and wait for it to reach completion. Depending on the quality of the file and the voice patterns contained within it, the time it takes to process your transcript may range from .25 - 1.5 times the original length of the recording. For a 1 hour recording, this equates to 15 - 90 minutes.

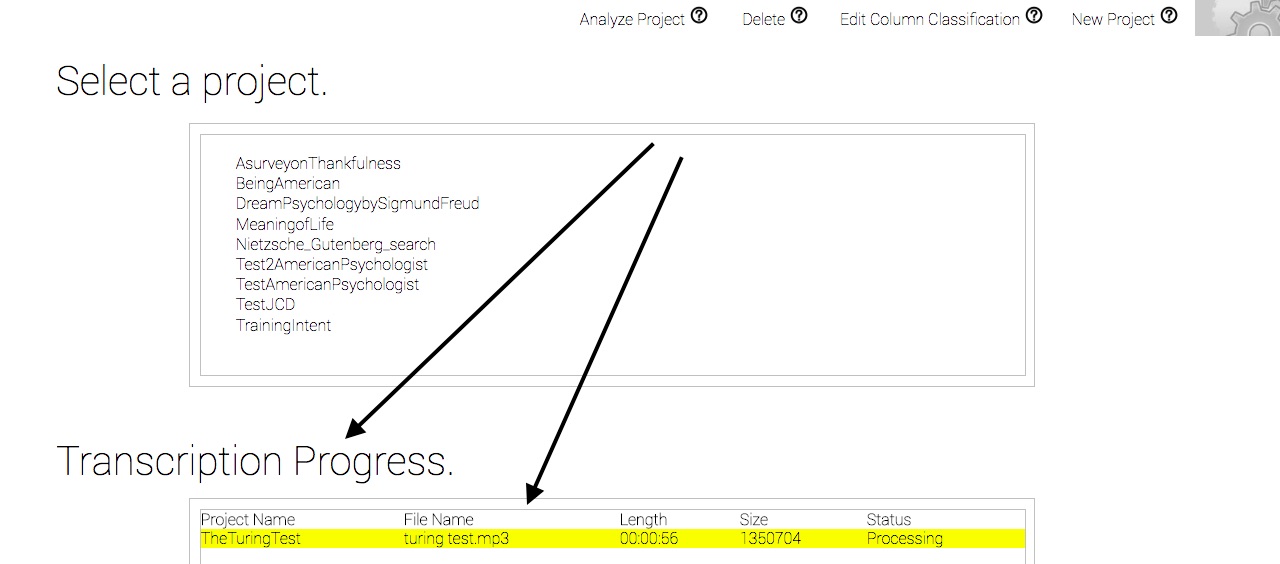
- Once your transcript is complete, select it by clicking on its title in the main window on the Select a project page. Then, click on Analyze Project in the main menu of your browser window.

Your results should appear in your browser shortly.
NOTE: Our transcription services are offered through partnership with a world class leader in artificial intelligence, and thus they are certainly state-of-the-art. But, that state is not yet infallible (our partner's internal testing indicates a 6% error rate for recorded news casts). We therefore recommend that subscribers download, review, edit, and re-upload a cleaned version of their initial transcripts prior to making scientific claims or substantial business decisions based on their results. See Exporting your Results in these Practicals for more information on downloading your raw data.

Directed scanning of text on webpages and URLs.
Before scanning webpages and URLs, please first ensure that your current language corpus matches the language written on the webpage or contained in the URL. This can be changed on the Settings page. For instructions about how to do so, see the Logging in webpage of these online Practicals. If the corpus language is not first changed to match that written on the page, the analysis will not likely be useable. The default corpus setting is English.
To create a project based on a directed scan of textual information from an online source, such as a webpage or other URL:
- First, name the project. Place your cursor in the Project Name text box and type a project name that will assist you in keeping track of your projects.

- Second, determine the address and scope of the website that you want to scanned. Do so by placing your cursor in the Site URL text box, and entering the address of the website you would like scanned. Then, select the depth of pages that you would like to scan, indicate whether or not you'd like to restrict the scan to the website's domain only, and determine the maximum number of pages to parse in the scan.
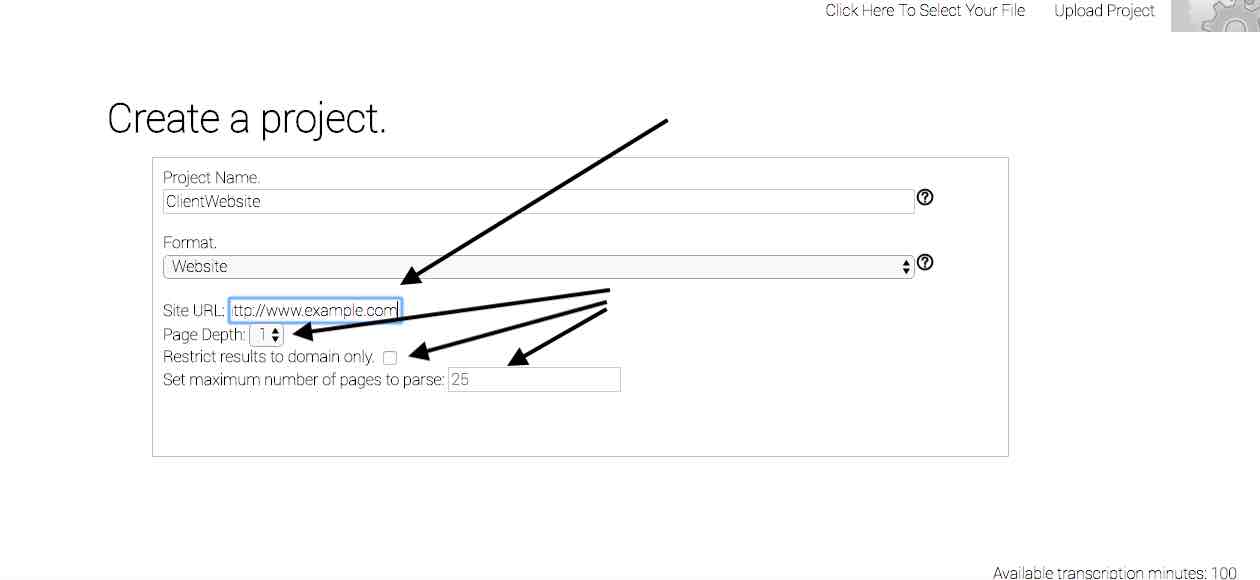

- After you've determined the address and scope of the scan, select Upload Project to begin the scan. Your results will appear in your screen when the scan and analysis are complete.

Pasting text.
Before pasting text, please first ensure that your current language corpus matches the language of your text. This can be changed on the Settings page. For instructions about how to do so, see the Logging in webpage of these online Practicals. If the corpus language is not first changed to match that of your text, the analysis will not likely be useable. The default corpus setting is English.
To copy (or cut) text from a source and paste it into Raven's Eye for analysis as a project:
- First, name the project. Place your cursor in the Project Name text box and type a project name that will assist you in keeping track of your projects.

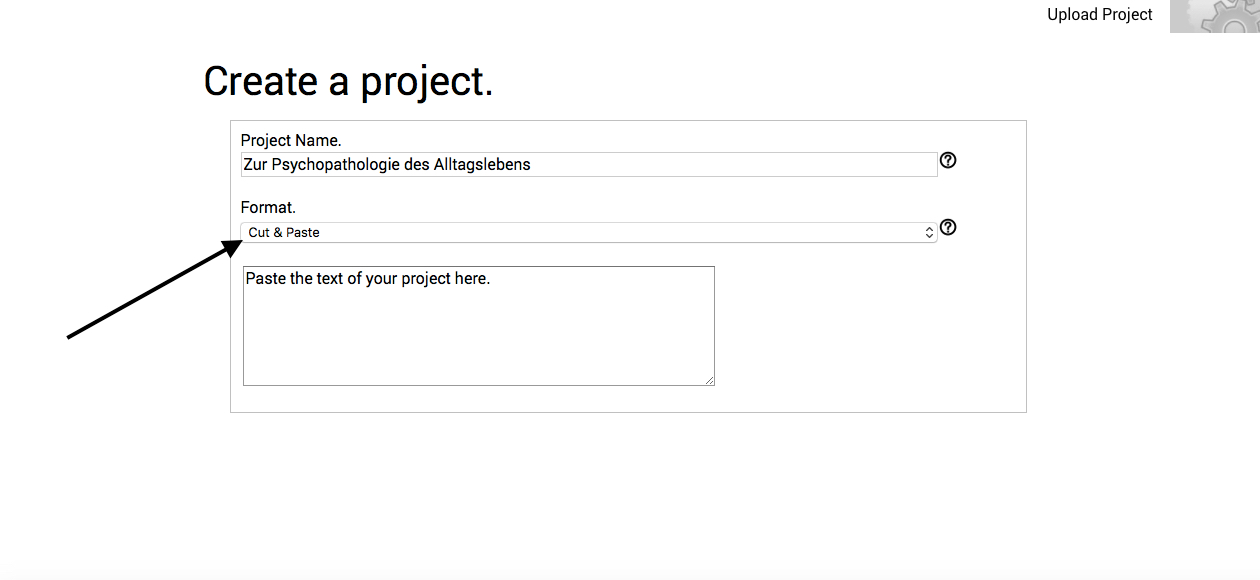
- Second, select Cut & Paste from the Format dropdown menu. Upon doing so, a new text box will appear.

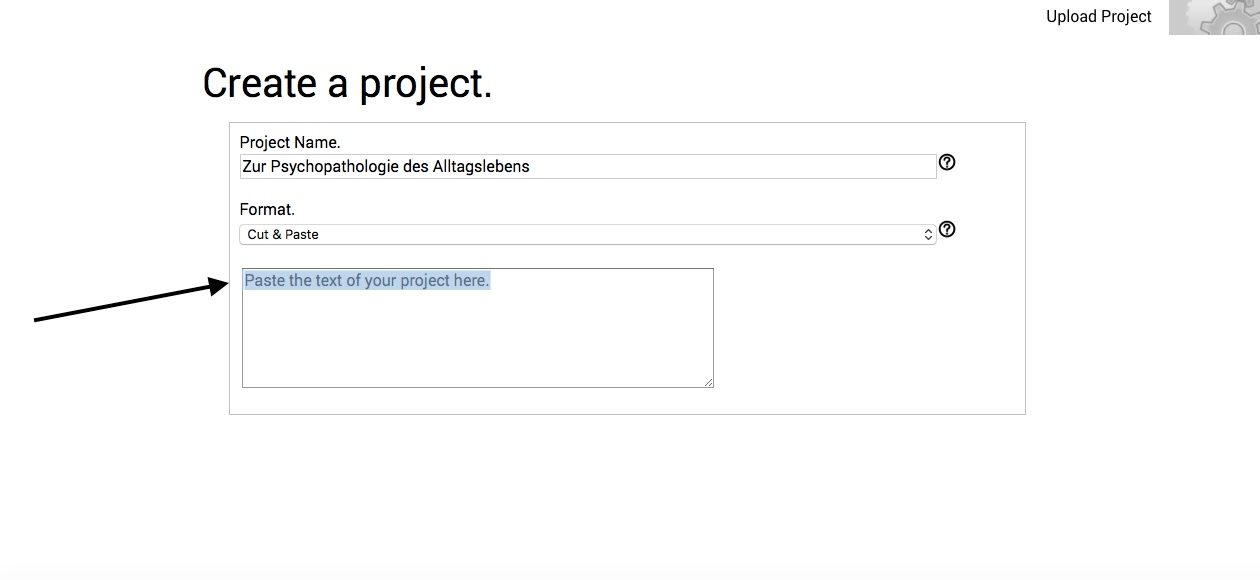
- Third, highlight the text in the text box, and press delete (this removes the placeholder text from the text box). Then, copy (or cut) the text that you would like to analyze, and paste it into the text box. Remember, it's best that you take a few simple steps to ensure that your text is formatted correctly before pasting it into the text box.

- Lastly, click Upload Project in the menu bar. Your data will now be saved as a new project, and you will be taken to the results of its analysis.

Your project is now uploaded to Raven’s Eye. If you created a project by uploadeding a word processing document, cutting or pasting, or scanning a website, you will be taken to your results. If, however, you uploaded a spreadsheet, you will be directed to the Column classification page. This page is described in the next section of these Practicals.